
Building a realtime Chat application with Crystal and Kemal
As we all know that the web is getting bigger and the information is being consumed really fast. Most of the web applications are in need of realtime updates to supply this demand. To achieve this WebSocket technology is a great fit.
In this blog post we are going to build a realtime chat application with Crystal programming language and Kemal. You’ll see that how powerful yet easy it is. To learn more about Crystal you can read my previous post.
The application
The application will receive messages from a client and publish it back to all registered clients. The communication is bi-directional meaning a client can send a message to server and vice versa the server can push a message to a client / clients.
The web framework
To build our application we are going to use Kemal. Make sure you have Crystal 0.9.1 installed.
First we are going to create our project named kemal-chat.
crystal init app kemal-chat
cd kemal-chat
Now we are going to edit our shard.ymlfile to add Kemalas a dependency.
shard.yml
name: kemal-chat
version: 0.1.0

dependencies:
kemal:
  github: sdogruyol/kemal
  branch: master

authors:
- Sdogruyol <[email protected]>

license: MIT
To get the dependencies
shards install
Now we can use Kemalin our application.
To do so let’s open up src/kemal_chat.cr.
require "kemal"

get "/" do
  render "views/index.ecr"
end
Our first route renders the html needed for our application.
views/index.ecr
<!doctype html>
<html>
<head>
  <title>Kemal Chat</title>
</head>
<body>
  <pre id='chat'></pre>
  <form>
    <input id='msg' placeholder='message...' />
    <input type="submit" value="Send">
  </form>
</body>
</html>
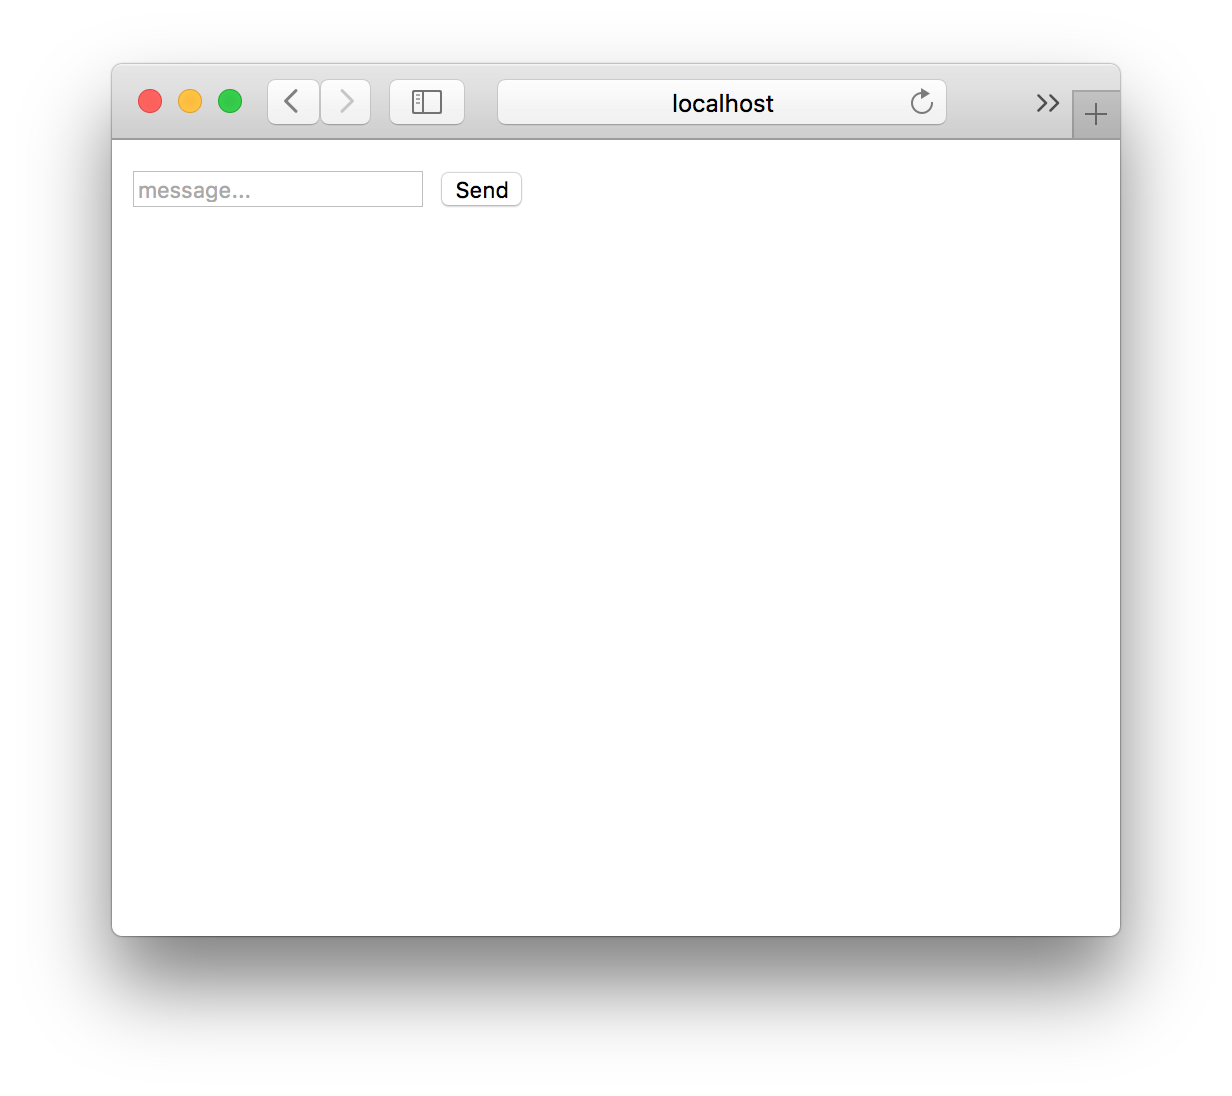
Now that we have our interface ready let’s see it.
crystal run src/kemal_chat.cr
And point your browser to http://localhost:3000/
Adding WebSocket support
Now that we got our view served let’s add the WebSocket support. With Kemal using WebSocket is super easy.
First we start from the backend and add a chat route. This route is different from an HTTP route.
src/kemal_chat.cr
SOCKETS = [] of HTTP::WebSocket

ws "/chat" do |socket|
  # Add the client to SOCKETS list
  SOCKETS << socket

  # Broadcast each message to all clients
  socket.on_message do |message|
    SOCKETS.each { |socket| socket.send message}
  end

  # Remove clients from the list when it's closed
  socket.on_close do
    SOCKETS.delete socket
  end
end
You can easily notice that the WebSocket route is defined with ws keyword which creates an endpoint for ws://localhost:3000/chat.
- We also create an aray called
SOCKETSto add all clients into. - Once a client opens a connection it’s added to
SOCKETS. - When a message is received it fires the
on_messageevent and the message is broadcasted to each client viaSOCKETS.each { |socket| socket.send message}. - When a client closes the connection the
on_closeevent is fired thesocketis removed from theSOCKETSlist.
Now that we got our backend ready. Let’s implement the corresponding Javascript code to view.
To do so we edit views/index.ecr like below.
<!doctype html>
<html>
  <head>
    <title>Kemal Chat</title>
    <script src="https://code.jquery.com/jquery-1.11.3.js"></script>
    <script>
      $(document).ready(function() {
        // Open WebSocket connection
        var ws = new WebSocket("ws://" + location.host + "/chat");
        // Append each message
        ws.onmessage = function(e) { $('#chat').append(e.data + "\n") };

        $("form").bind('submit', function(e) {
          var message = $('#msg').val();
          ws.send(message);
          $('#msg').val(''); $('#msg').focus();
          e.preventDefault();
        });
      });
    </script>
  </head>
  <body>
    <pre id='chat'></pre>
    <form>
      <input id='msg' placeholder='message...' />
      <input type="submit" value="Send">
    </form>
  </body>
</html>
Between the <script></script> tags
- We open a WebSocket connection to the server
- Register for
messageevent and then append each message to our list. - Bind our
formto send our message to server withws.send.
This is it! Now we have a simple but fully functional chat application. To see it in action let’s rerun our code.
crystal src/kemal_chat.cr
Open at least 2 browsers pointing to http://localhost:3000/.
Let’s see it in action :)
Closing Thoughts
That was easy! In 5 minutes we did build a realtime chat application using WebSockets. I really think that Crystal and Kemal are awesome and so powerful.
To see what i mean you can check Crystal vs Node.js WebSocket benchmark.
P.S: You can check the source code of this post at Github.
Update: You can check out this realtime chat demo built with Kemal + React.
Happy Crystaling <3
Leave a Comment